GitHub Client for the Windows Store - Getting Started
- Part 1 - GitHub Client for the Windows Store - Getting Started
- Part 2 - GitHub Client for the Windows Store - Authenticating against GitHub
This is the first part in a series of posts that will show how to create a Windows Store app that connects to GitHub.
The goal of the application is to allow a user to manage their GitHub projects using the Kanban method.
In this first part we will go through setting up the project, getting the required NuGet packages and creating the login page.
Let’s jump straight in!
###Getting started
To get started open Visual Studio 2013, I am using the Express version for Windows, select File->New->Project
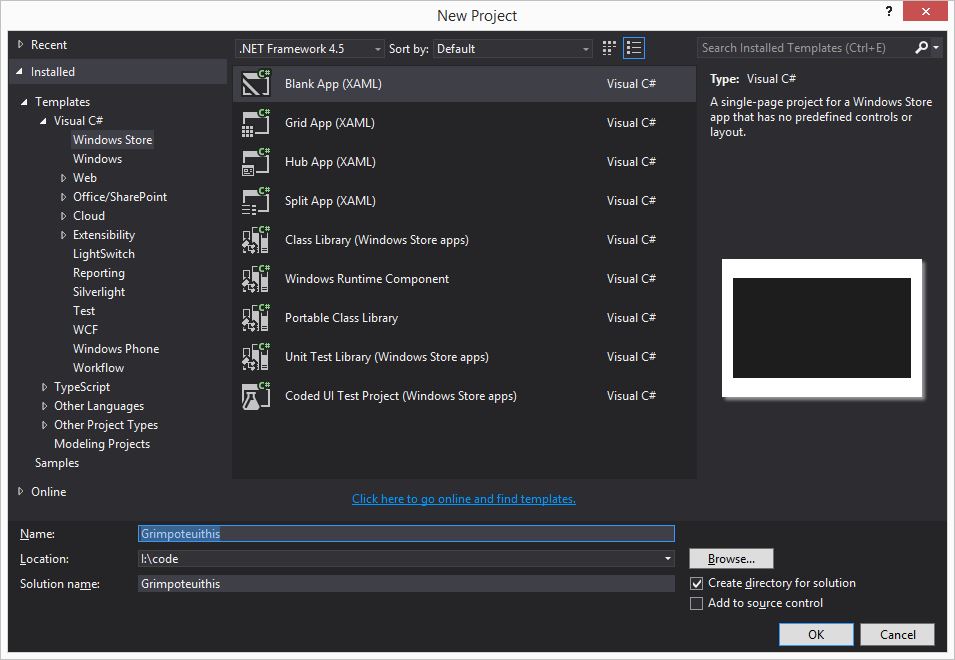
I’m going to select the Blank App (XAML) project, give it a name (Grimpoteuthis) and choose a location.
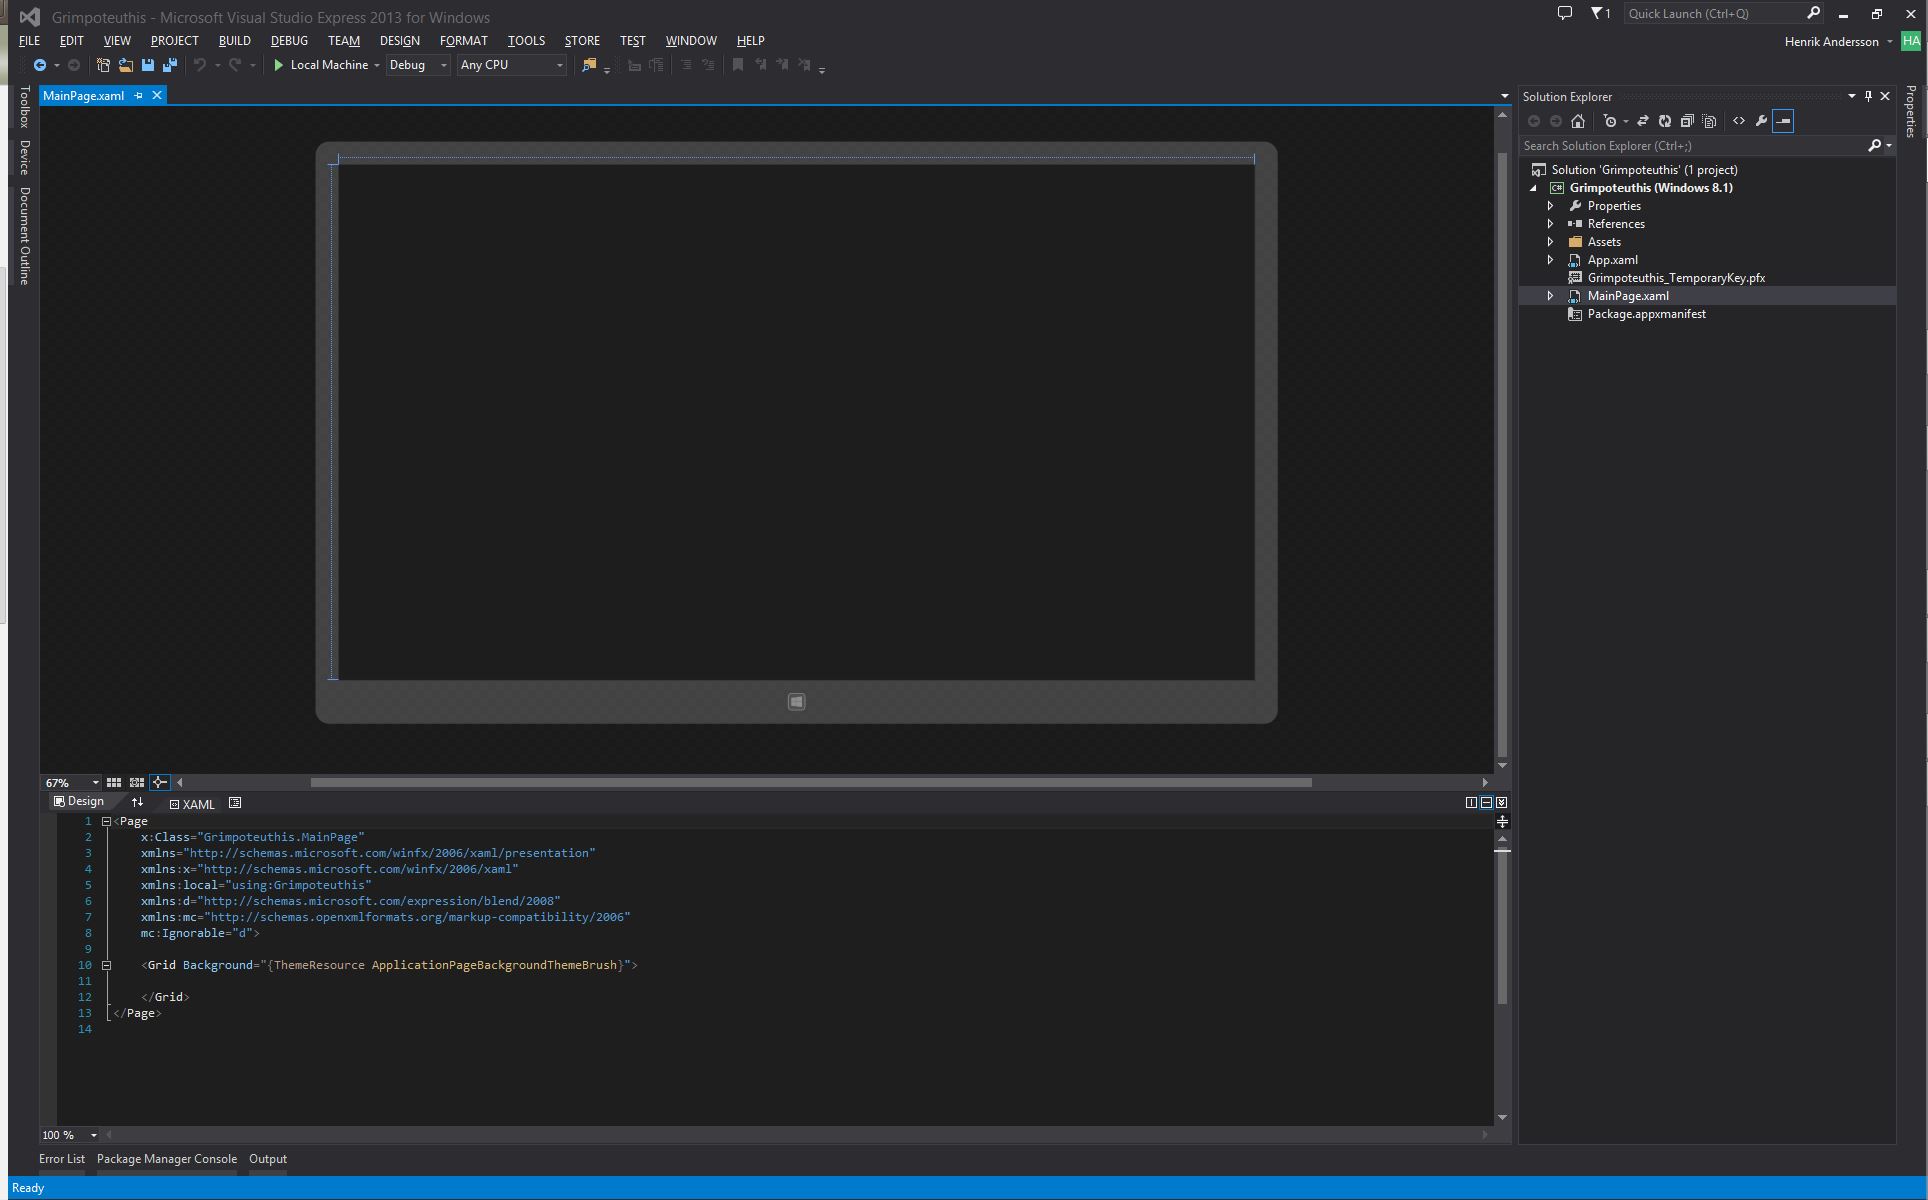
Once the project has been created, you end up with this
###Installing ReactiveUI
An MVVM framework for .NET that integrates the Reactive Extensions (Rx) framework
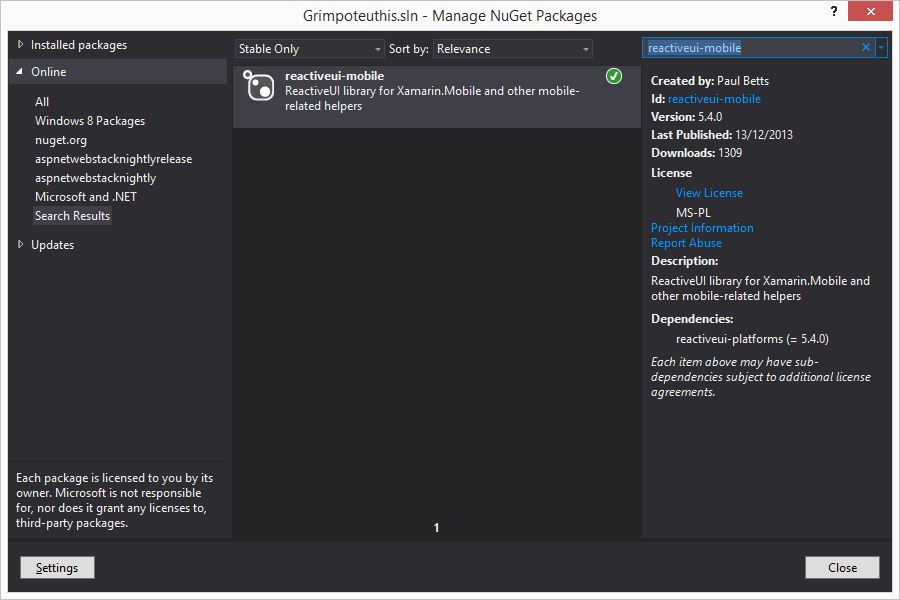
To install the ReactiveUI package, run the command PM> Install-Package reactiveui-mobile from the Package Manager Console, or from the Manage NuGet Packages dialog under Tools->NuGet Package Manager
###Creating the Login Page
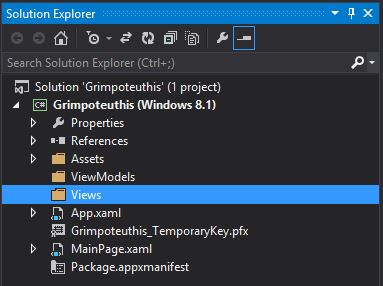
First of all, let’s setup the folder structure. We’re going to add a couple of folders that will hold our Views and ViewModels.
Right-click the project and select Add->New Folder, name the folder Views
Repeat the above, but name the folder ViewModels
You should end up with the below folder structure
Adding the Login Page
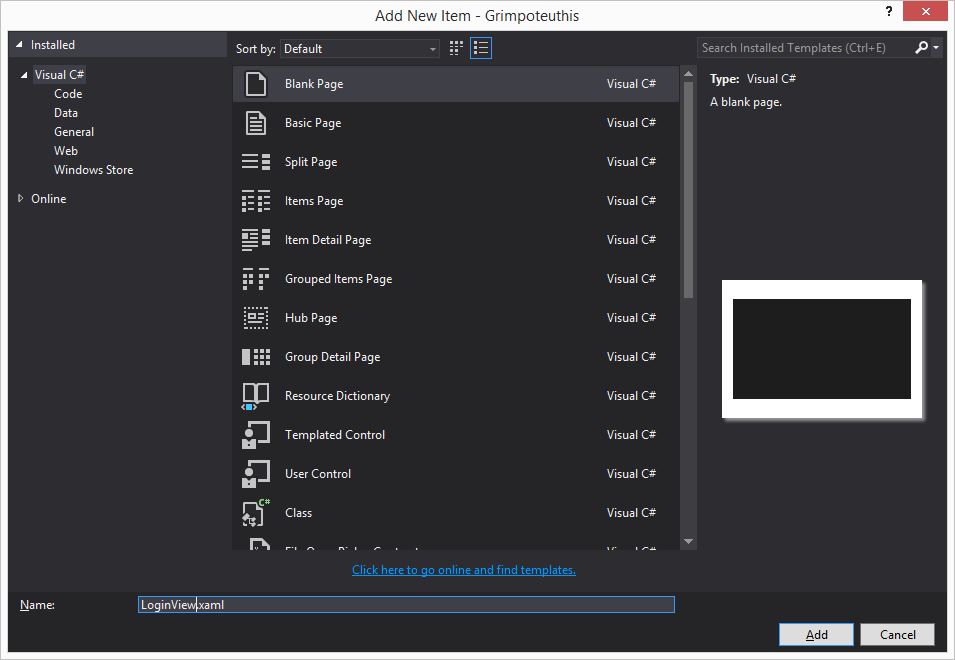
Right-click the Views folder and select Add->New Item, select the Blank Page item and give it the name LoginView.xaml
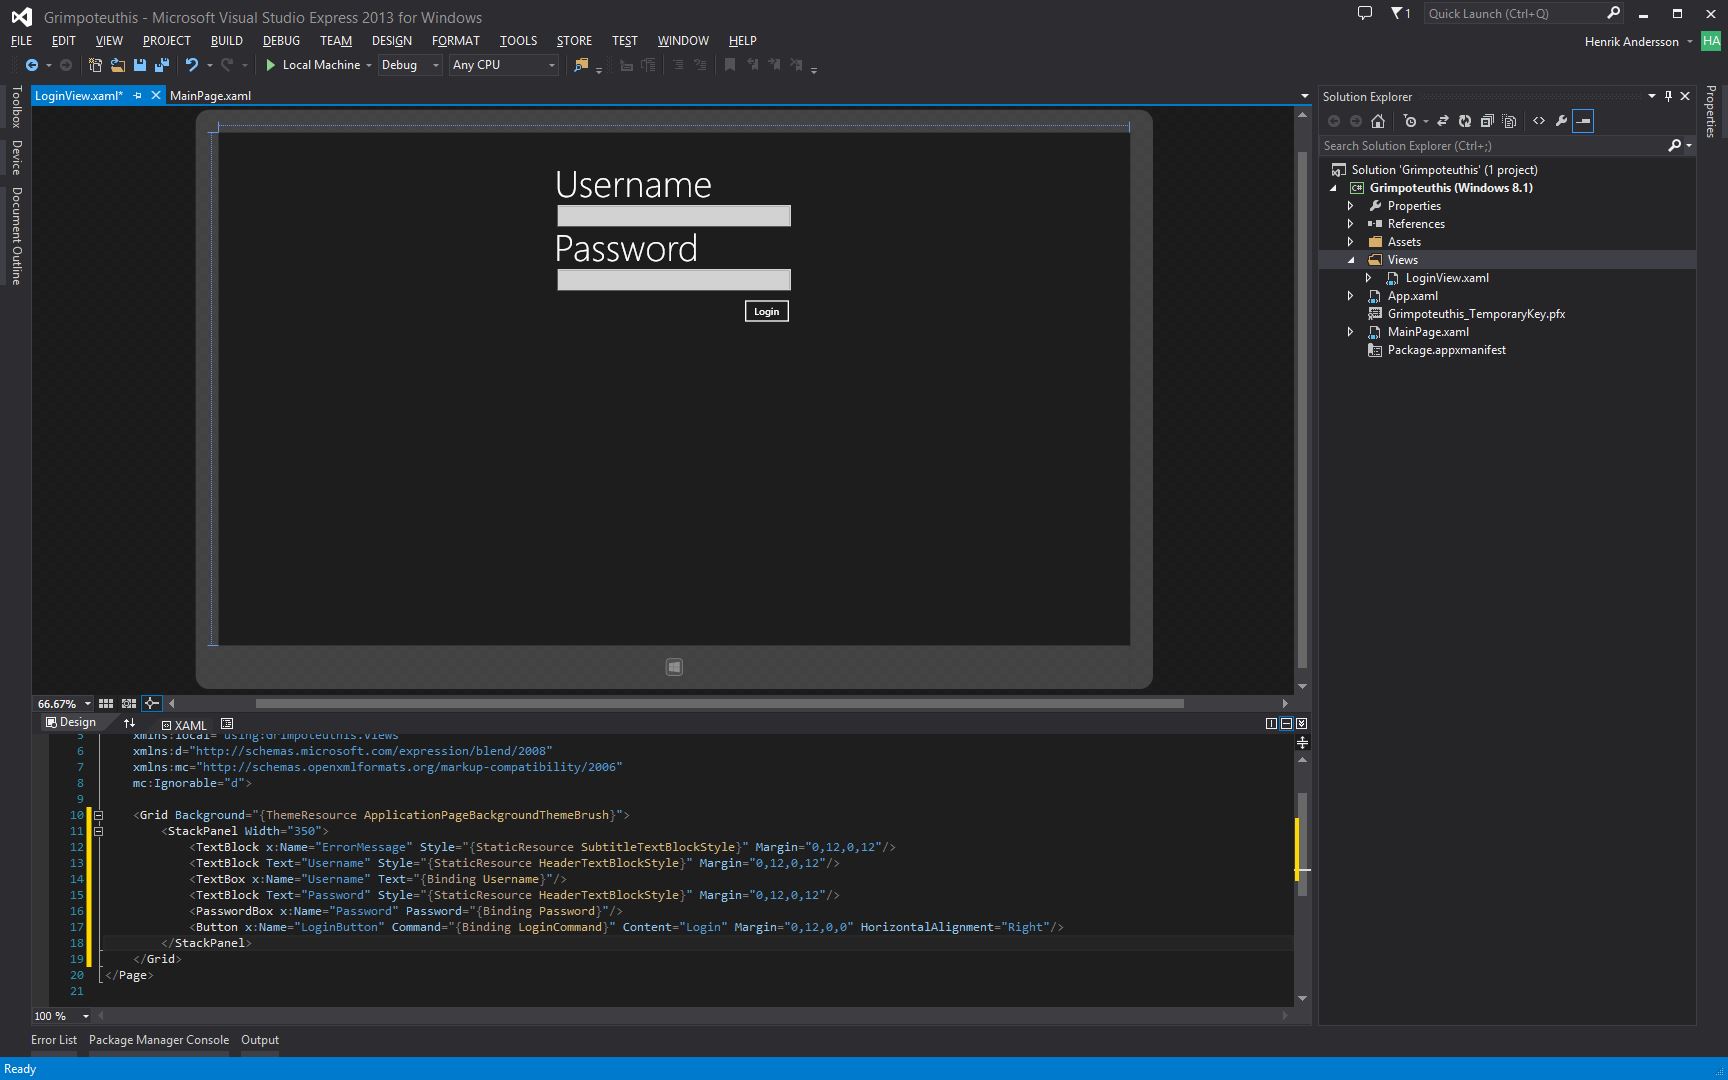
Inside the Grid control on the page, add the following code to create the login page layout
1
2
3
4
5
6
7
<StackPanel Width="350">
    <TextBlock Text="Username" Style="{StaticResource HeaderTextBlockStyle}" Margin="0,12,0,12"/>
    <TextBox x:Name="Username" Text="{Binding Username}"/>
    <TextBlock Text="Password" Style="{StaticResource HeaderTextBlockStyle}" Margin="0,12,0,12"/>
    <PasswordBox x:Name="Password" Password="{Binding Password}"/>
    <Button x:Name="LoginButton" Command="{Binding LoginCommand}" Content="Login" Margin="0,12,0,0" HorizontalAlignment="Right"/>
</StackPanel>
Here we’re adding a label and textbox for Username and Password and a Login button.
The resulting login page
Adding the Login ViewModel
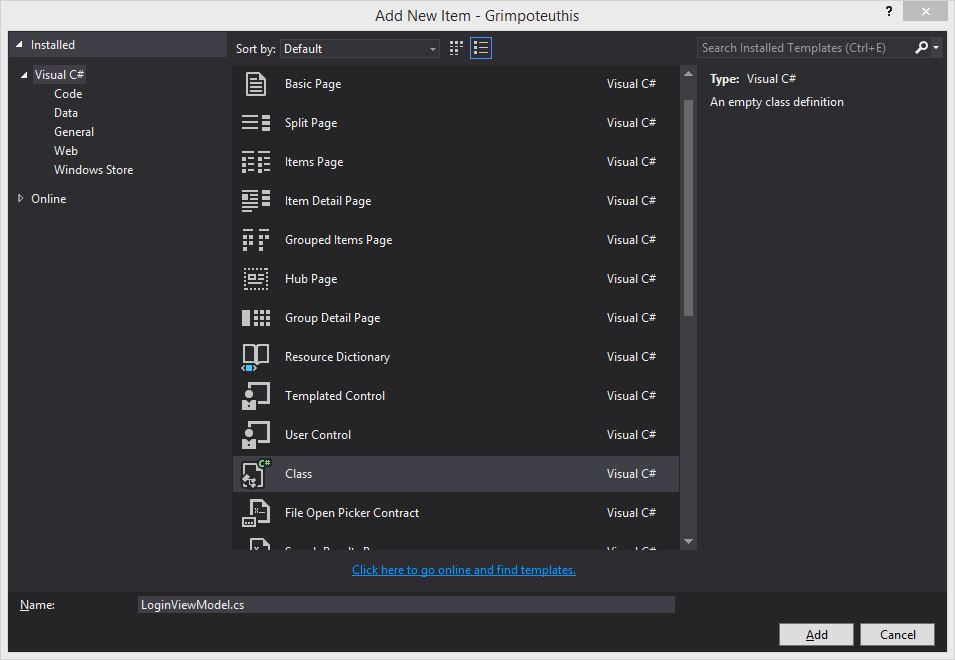
Right-click the ViewModels folder and select Add->Class... and give it the name LoginViewModel.cs
The resulting class will look something like this
1
2
3
4
5
6
7
8
9
10
11
12
13
using System;
using System.Collections.Generic;
using System.Linq;
using System.Text;
using System.Threading.Tasks;

namespace Grimpoteuthis.ViewModels
{
    public class LoginViewModel
    {

    }
}
Making the ViewModel a Reactive Object
To take this class from being just another class, to an MVVM ready class, all you need to do is
Add using ReactiveUI; to the top of the class.
Change the class definition to be
1
2
3
4
5
6
7
8
9
10
11
12
13
14
using System;
using System.Collections.Generic;
using System.Linq;
using System.Text;
using System.Threading.Tasks;
using ReactiveUI;

namespace Grimpoteuthis.ViewModels
{
    public class LoginViewModel : ReactiveObject
    {

    }
}
Bam! That’s it!
Now you’re ready to add the required properties and commands that will enable us to implement the logic that will authenticate the user against GitHub.
Think back to the login page we created above, it has two text inputs on it, one for username and one for password, so we have to add two string properties to the ViewModel, one that will hold the username, and one that will hold the password.
Add the following to LoginViewModel.cs
1
2
3
4
5
6
7
8
9
10
11
12
13
string _Username = String.Empty;
public string Username
{
    get { return _Username; }
    set { this.RaiseAndSetIfChanged(ref _Username, value); }
}

string _Password = String.Empty;
public string Password
{
    get { return _Password; }
    set { this.RaiseAndSetIfChanged(ref _Password, value); }
}
this.RaiseAndSetIfChanged() is the Rx implementation for notifying bound clients that a property value has changed, i.e. the INotifyPropertyChanged.PropertyChanged event in a non-Rx implementation.
Now, we also have a Login button on the Login Page, so we need to add a command that will handle the click event of that button, add the following to the LoginViewModel
public ReactiveCommand LoginCommand { get; protected set; }We only want the Login button to be enabled if and when the user has entered both username and password.
So in the LoginViewModel constructor add the following
1
2
3
4
var canLogin = this.WhenAny(
        x => x.Username,
        x => x.Password,
        (user, pass) => (!String.IsNullOrWhiteSpace(user.Value) && !String.IsNullOrWhiteSpace(pass.Value)));
This will create an IObservable<bool> that can be used to check that both the username and password has been entered by the user, and only then will it return true.
We can then use this IObservable to instantiate our LoginCommand, add
1
LoginCommand = new ReactiveCommand(canLogin);
to the constructor as well, and this will then make sure that the LoginCommand will only be enabled when both username and password has been entered.
Wiring up the View to the ViewModel
Now that we have both our View, LoginView.xaml, and ViewModel, LoginViewModel.cs, we need to tell the view how to access the viewmodel so we can wire up the input fields on the login page to the corresponding properties on the viewmodel.
Right-click LoginView.xaml, select View Code.
Replace the class definition that is there with the following
1
2
3
4
5
6
7
8
9
10
11
12
13
14
15
16
17
18
19
20
21
22
23
24
25
26
27
28
29
30
31
32
33
34
35
36
37
38
39
using Grimpoteuthis.ViewModels;
using ReactiveUI;
using Windows.UI.Xaml;
using Windows.UI.Xaml.Controls;

namespace Grimpoteuthis.Views
{
    public sealed partial class LoginView : Page, IViewFor<LoginViewModel>
    {

        public LoginViewModel ViewModel
        {
            get { return (LoginViewModel)GetValue(ViewModelProperty); }
            set { SetValue(ViewModelProperty, value); }
        }

        public static readonly DependencyProperty ViewModelProperty =
                    DependencyProperty.Register("ViewModel",
                        typeof(LoginViewModel),
                        typeof(LoginView),
                        new PropertyMetadata(null));

        object IViewFor.ViewModel
        {
            get { return ViewModel; }
            set { ViewModel = (LoginViewModel)value; }
        }

        public LoginView()
        {
            this.InitializeComponent();

            this.Bind(ViewModel, x => x.Username, x => x.Username.Text);
            this.Bind(ViewModel, x => x.Password, x => x.Password.Password);

            this.BindCommand(ViewModel, x => x.LoginCommand, x => x.LoginButton);
        }
    }
}
So what does this do?
Line 8 adds support for binding and routing on the view.
Lines 11-27 registers the viewmodel dependency property to support binding from the view to the viewmodel.
Line 33 binds the Username input field on the view to the Username property on the viewmodel.
Line 34 binds the Password input field on the view to the Password property on the viewmodel.
Line 35 binds the Login button on the view to the Login command on the viewmodel.
That’s the login page taken care of, next we will
Introducing Routing - Navigation the ReactiveUI way
First of all, let’s create a bootstrapper type ViewModel that we will use as the main entry point for the application.
Add a new class to the ViewModels folder, call it AppBootstrapper.
1
2
3
4
5
6
7
8
9
10
11
12
13
14
15
16
17
18
19
20
21
22
23
24
25
26
27
28
29
30
31
32
33
34
35
36
37
38
39
40
41
42
using System;
using System.Collections.Generic;
using System.Net.Http.Headers;
using System.Reactive.Linq;
using System.Reactive.Concurrency;
using System.Runtime.Serialization;
using System.Threading.Tasks;
using ReactiveUI;
using ReactiveUI.Mobile;
using Grimpoteuthis.Views;

namespace Grimpoteuthis.ViewModels
{
    [DataContract]
    public class AppBootstrapper : ReactiveObject, IApplicationRootState
    {
        [DataMember] RoutingState _Router;

        public IRoutingState Router
        {
            get { return _Router; }
            set { _Router = (RoutingState)value; }
        }

        public AppBootstrapper()
        {
            Router = new RoutingState();

            var resolver = RxApp.MutableResolver;

            resolver.Register(() => new LoginView(), typeof(IViewFor<LoginViewModel>), "FullScreenLandscape");

            resolver.Register(() => new LoginViewModel(), typeof(LoginViewModel));

            resolver.RegisterConstant(this, typeof(IApplicationRootState));
            resolver.RegisterConstant(this, typeof(IScreen));
            resolver.RegisterConstant(new MainPage(), typeof(IViewFor), "InitialPage");

            Router.Navigate.Execute(new LoginViewModel(this));
        }
    }
}
In the constructor we will register the required views and associated viewmodels.
Finally, we execute the Navigate function on the Router passing it a new LoginViewModel object and this will navigate to the LoginView page, as this is the page that we have registered to the LoginViewModel.
Open MainPage.xaml, add xmlns:routing="using:ReactiveUI.Xaml" to the Page directive, and then add <routing:RoutedViewHost x:Name="Router" /> to the Grid control. This is where the current view will be rendered.
Right-click on MainPage.xaml and select View Code.
Add the following using’s
1
2
using ReactiveUI;
using Grimpotheuthis.ViewModels;
at the top of the page, and then modify the class as such
1
2
3
4
5
6
7
8
9
10
11
12
13
14
15
16
17
18
19
20
21
22
23
24
public sealed partial class MainPage : Page, IViewFor<AppBootstrapper>
{
    public MainPage()
    {
        this.InitializeComponent();

        this.OneWayBind(ViewModel, x => x.Router, x => x.Router.Router);
    }

    public AppBootstrapper ViewModel
    {
        get { return (AppBootstrapper)GetValue(ViewModelProperty); }
        set { SetValue(ViewModelProperty, value); }
    }

    public static readonly DependencyProperty ViewModelProperty =
       DependencyProperty.Register("ViewModel", typeof(AppBootstrapper), typeof(MainPage), new PropertyMetadata(null));

    object IViewFor.ViewModel
    {
        get { return ViewModel; }
        set { ViewModel = (AppBootstrapper)value; }
    }
}
Finally, all we need to do is register the AppBootstrapper class as the startup object in App.xaml.
Open App.xaml, add xmlns:mobile="using:ReactiveUI.Mobile" and change the Page control to mobile:AutoSuspendApplication.
Right-click App.xaml and select View Code.
Add the following using’s
1
2
3
using Grimpoteuthis.ViewModels;
using ReactiveUI;
using ReactiveUI.Mobile;
Change the base class of the App class from Application to AutoSuspendApplication.
In the OnLaunched method, remove everything except what’s within the #if DEBUG preprocessing directive.
Add the below code in place of the code you have removed
1
2
3
4
5
6
7
((ModernDependencyResolver)RxApp.DependencyResolver).Register(() =>
	new AppBootstrapper(), typeof(IApplicationRootState));

base.OnLaunched(e);

var host = RxApp.DependencyResolver.GetService<ISuspensionHost>();
host.SetupDefaultSuspendResume();
Press F5 to run the project and the login page should be displayed.
NOTE: I ran into the following exception when running the application
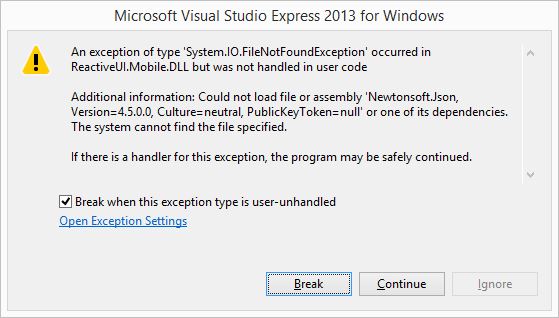
It seems that Newtonsoft.Json is not installed when installing the ReactiveUI Mobile package, easily, fixed though, just run PM> Install-Package Newtonsoft.Json from the Package Manager Console.
Press F5 again, and this time, the login page should be displayed, the login button is disabled by default and will only get enabled once you’ve entered both a username and password.
That’s it for this first part in this series of building a Windows Store app using ReactiveUI and integrating with GitHub.
In the next part, we will look at implementing the login logic, which will involve calling the GitHub API.
Source for this series of blog posts can be found here
