Getting up and running with Jekyll and GitHub Pages
As I have just started with GitHub Pages and initally was doing my development and bug fixes by committing the changes to GitHub and checking the live site, I thought I’d put together this guide on how to get it up and running on GitHub and then also getting it up and running on a Windows system for local development and post creation.
####Setting up GitHub
Creating the Repository
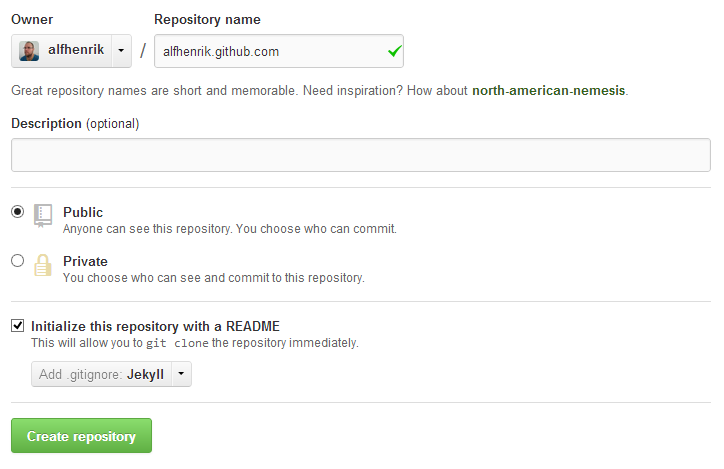
To get started with GitHub Pages you need to login to your GitHub account and create a new repository named username.github.com.
Setting up the initial page
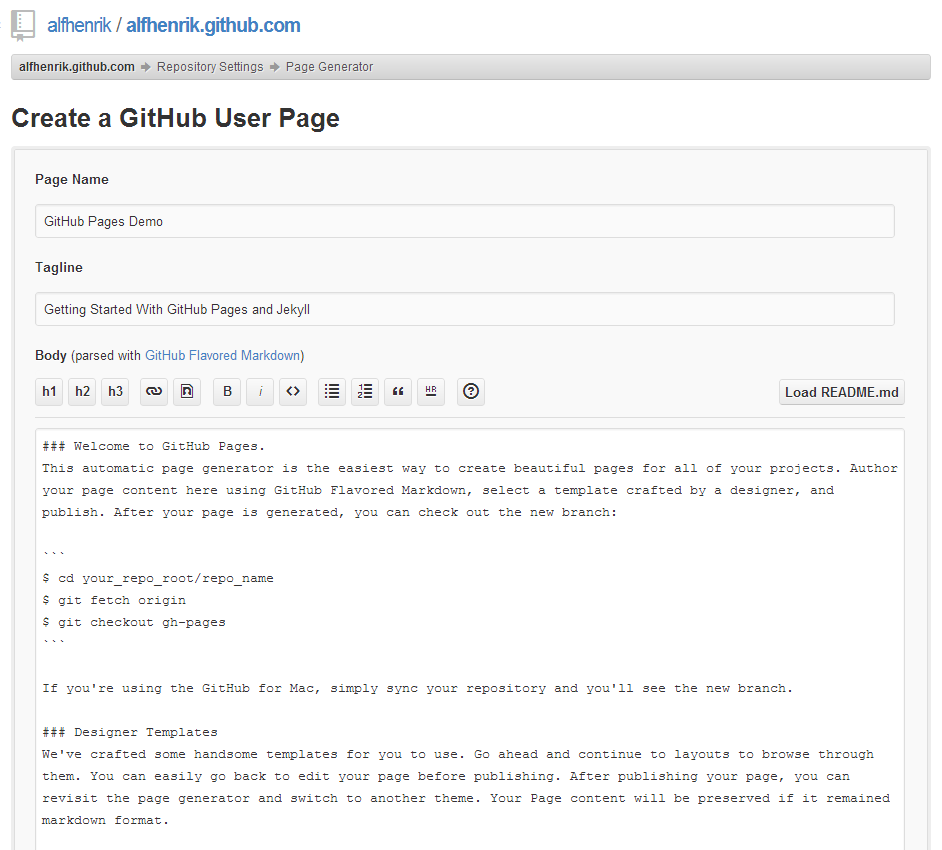
Once you have created the repository, go to the settings page of the repository and click the ‘Automatic Page Generator’ button.

This will take you to the GitHub Pages wizard. The first step gives you the option to update the Page Name of your site, the tag line and the content.
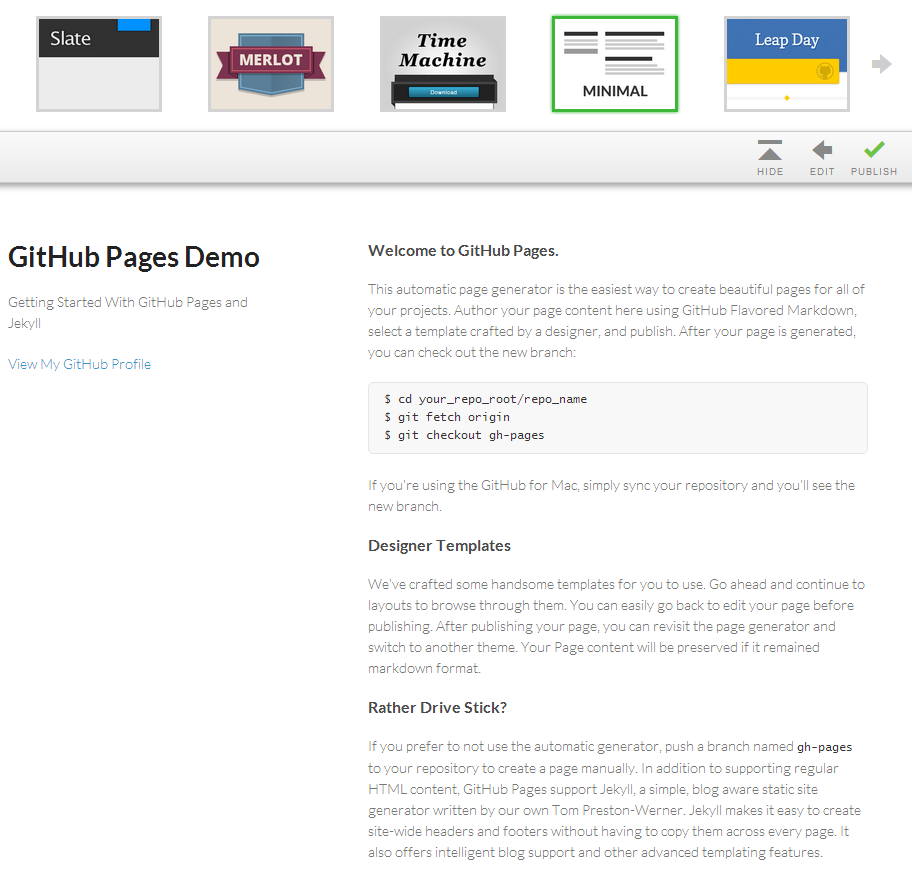
Click the ‘Contine to Layouts’ to proceed to selecting your initial Layout for your site. Here you have 11 different layouts that you can chose between as a starting point for your site. For the purpose of this guide I will select the Minimal layout
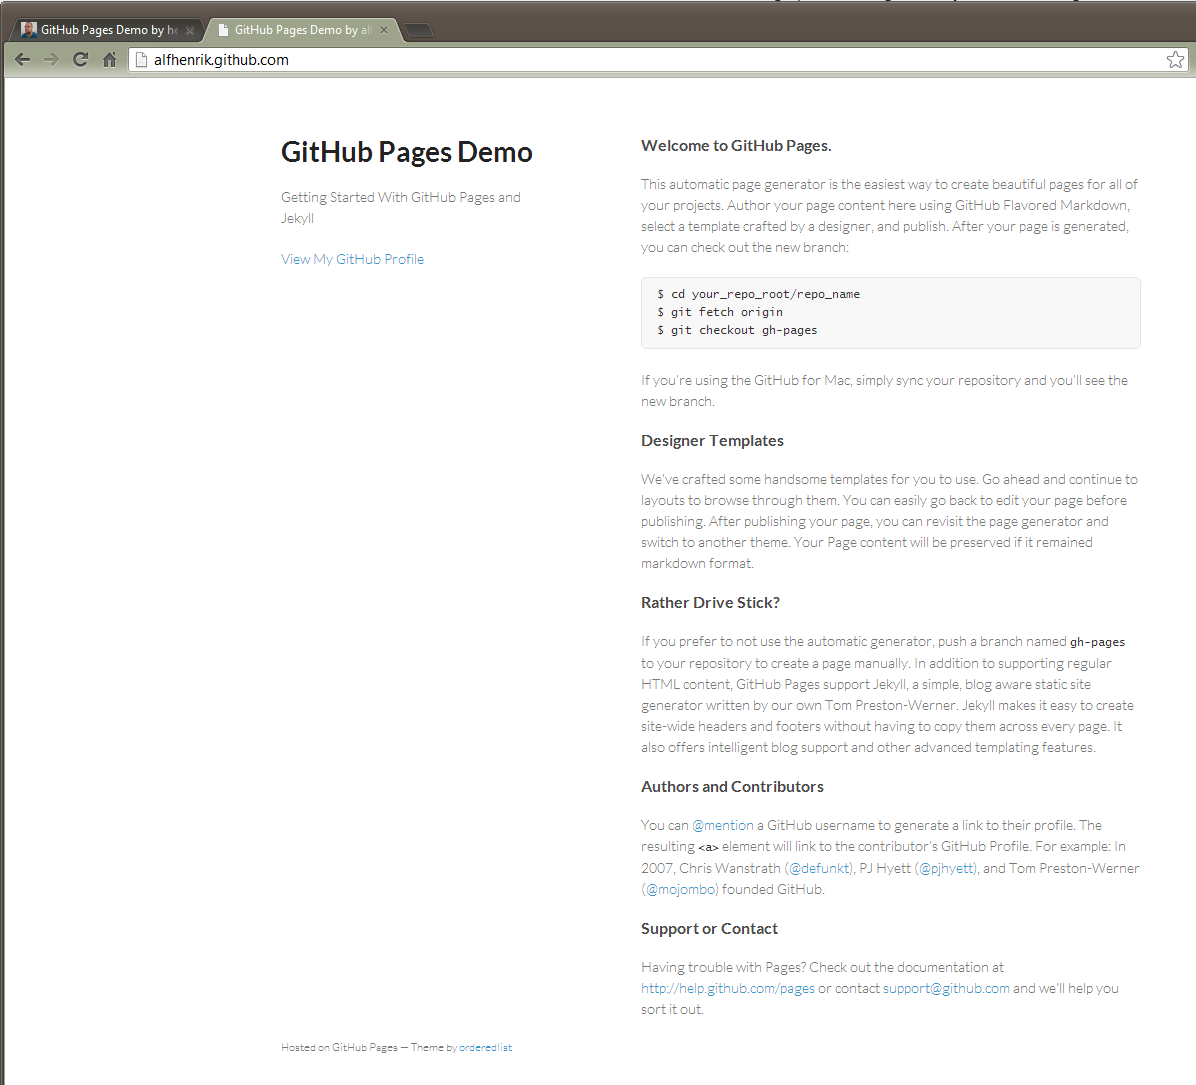
Once you have decided on your content and layout, click Publish and GitHub will begin the process of building and deploying your site. Once the site has been built and deploy GitHub will send you and email informing you that your site has been created, then you can view your site by navigating to http://username.github.com.
####Setting up your Development environment
Cloning your GitHub repository
Installing Jekyll
To install and run Jekyll on Windows a couple of prerequisites are needed, firstly you need to download and install Ruby, you can download the Ruby Installer for Windows from here.
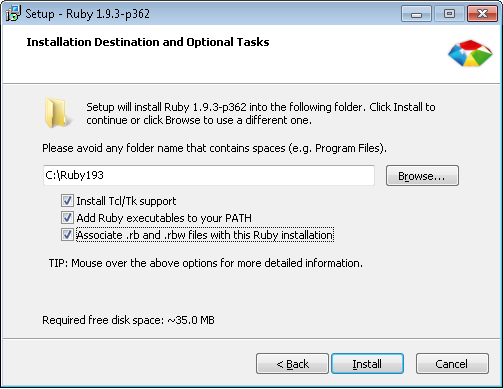
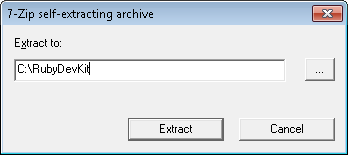
You also need the Ruby Software Development Kit which also can be downloaded from the Ruby download page. Extract the development kit into the directory of your choice (for example C:\RubyDevKit, but any directory will do). To install the Development Kit do the following, start a command prompt and run the following commands:
cd C:\RubyDevKit
ruby dk.rb init
ruby dk.rb install
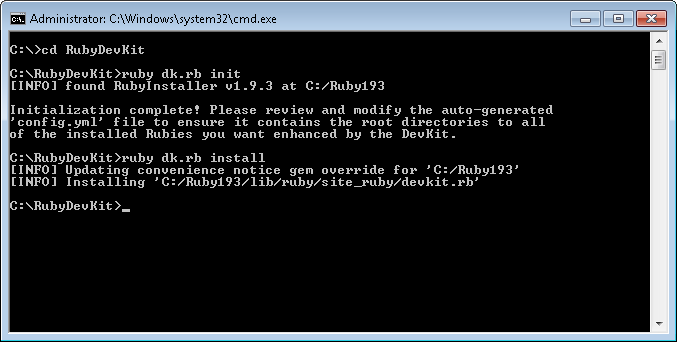
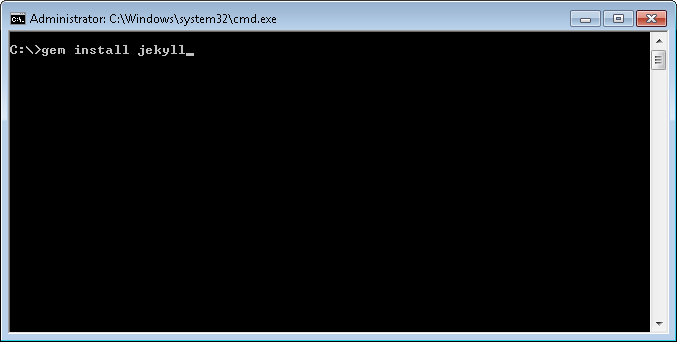
After the Ruby Software Development Kit has been installed you are ready to install Jekyll, do this by executing the following command:
gem install jekyll
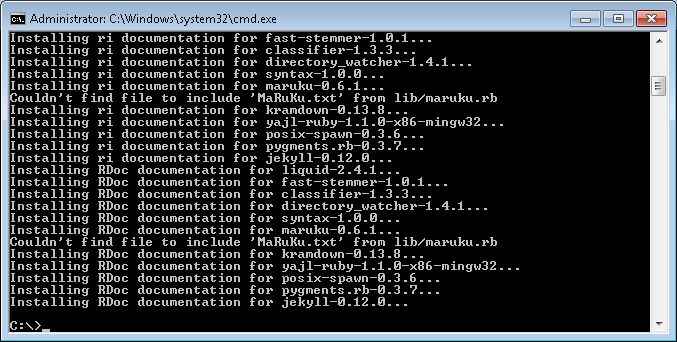
Now you are ready to start using Jekyll on your system.
Running Jekyll
To start using Jekyll to build your site on your development system, start a command prompt and execute the following command:
jekyll --server
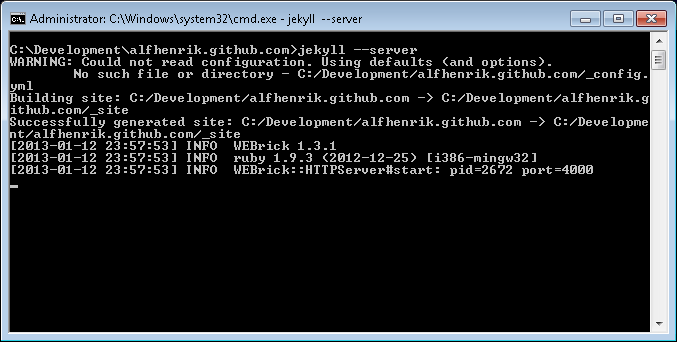
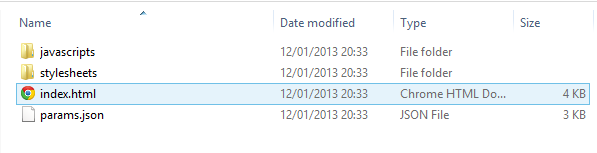
This will start Jekyll which will build your site, it puts the output in the _site/ directory in the folder where you cloned your GitHub repsitory.

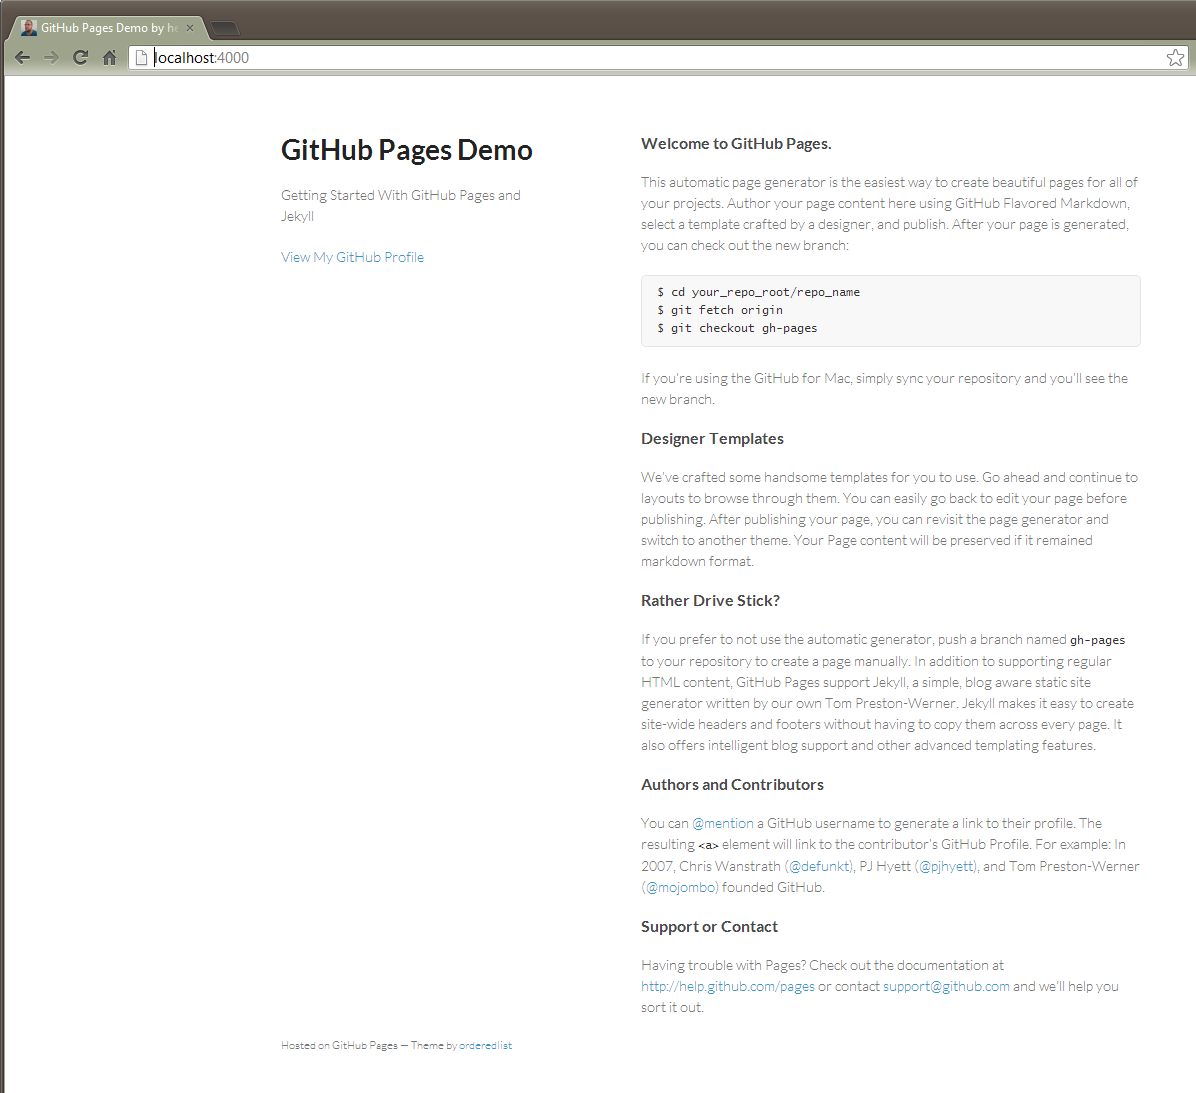
Also what the above command does is start a local web server on http://localhost:4000 where you can view your built site.
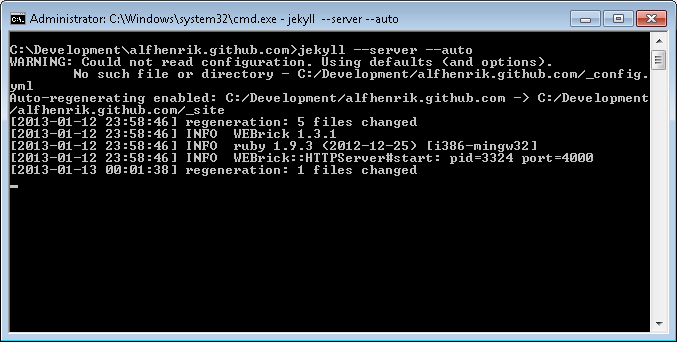
If you want Jekyll to rebuild your site once a file changes you can execute the following command:
jekyll --server --auto

This will (in addition to starting Jekyll, building your site and starting the local web server) rebuild your site everytime a file within the directory of your site changes. This is handy if you want to create your own theme instead of using one of the themes that are available by default, as you will be making a lot of changes to your layouts and stylesheets.
####Deploying your changes to your production site To deploy your changes to your live site, all you need to do is push your changes to your GitHub repository. Once you have pushed your changes to GitHub, Jekyll will rebuild your site, once it is done, you will receive an email with the result of the build. If the build is successful, you can navigate to your live site and your changes will appear, if the build failed no changes will be made to your live site.
